
Every phenomenon in the earth is measured in units. This unit is nothing but a standard measurement which varies in name and value depending on what is being measured? Test & Measurement instruments bring order and meaning to every physical entity present in this world. This is the same with electricity and there are instruments which can measure everything related to electric current You might wonder why such a device is needed your toolbox.
This machine is the paintbrush of both amateur and DIY electricians with which they are able to do amazing things. With a device available to measure all sorts of things, the measurement instrument is known for its contribution in building safe and advanced electrical fixtures. From minute batteries to large equipment, the multimeter is able to measure the various values of current and gives an accurate reading. Other operations like checking for current flow are also possible to check using these machines. Multimeter come in different sizes and with different functions. Basically the multimeter are classified into two types.
WHAT IS A MULTIMETER?
Multimeters are simply electrical appliances covered in cryptic symbols and buttons, but don’t let that intimidate you. There are three basic functions you’ll use most often: measuring voltage, continuity and resistance in electrical components and circuits. This guide will walk you through using these functions for tackling common tasks around the house.
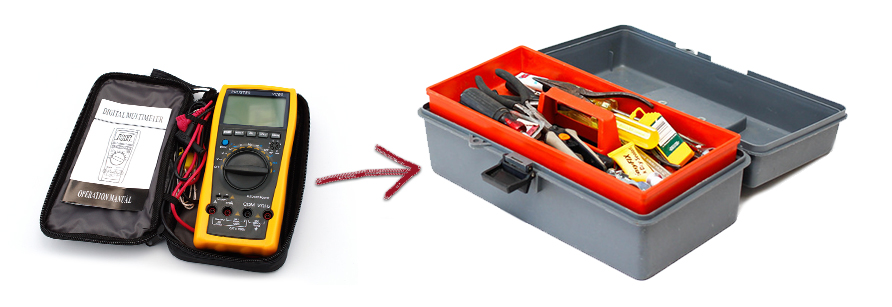
WHY YOU SHOULD HAVE A MULTI METER IN YOUR TOOLBOX.
1.Safety
Digital multimeter facilitates the safe repairing of electrical equipment without the possibility of an electric shock There are two probes which come along with the multimeter, which is connected to the positive and negative of different terminals to analyze and get their readings. Different electrical environments require testing meter which can work at various different voltages. Fluke multimeter comes in every possible voltage range since every technician in the electricity fieldwork in completely different environments. The amazing thing is those even analog multimeter are available which are as accurate as the digital ones with all the latest technology in it. Multimeter are also
available in dot matrix and LCD depending on what the person likes. Multimeter simplify the job of an electrician and even those who want to keep utility tools house can get one of these devices and benefit.
2. Check extension cords
Doubt the integrity of that dusty extension cord? Set your multimeter dial to its continuity test mode. Look for the soundwave symbol (dot with progressively larger curved lines). Your probe terminal configuration stays the same (black in COM, red in volts/ohms). Turn on the multimeter. Insert the black probe into one of the receptacles on one end of the cord. A US style grounded extension cord has three prongs on one end and three matching receptacles (in size and shape) on the other. Now touch the red probe to the matching prong on the plug end of the cord. If that particular connection, linked by a wire inside the cord, is good then the multimeter will emit a tone or beeping sound. This tells you that this connection is contiguous, meaning it will carry current and dose a circuit. Test the two remaining plug/receptacle pairs in this fashion. When all three beep, you know you’re in business. If not, then it’s time to shop for a new cord.
3. Spot the hot wire
Let’s say a light fixture on the ceiling failed — when you flip the switch on and off, nothing happens. To troubleshoot the light switch, first shut off power at your main breaker panel. Then, take a look inside the box by pulling the connected switch out of it carefully. (see this for a detailed how to article on swapping light switches.) The first priority now is to determine if house electrical power is getting to the switch at all. Switch power to the box back on at the panel. Turn your multimeter to measure AC voltage and its range to 200 volts. Confirm the black probe is in its “COM” terminal and the red probe is in its “V, ohm” terminal. Turn on the multimeter. Now grip the back probe at its raised plastic ridge. The ridge on the insulated probe is a good distance away from the probe’s metal tip.
Carefully touch the black probe to a metal section of the light switches housing. Gripping it the same way, touch the switch contact labeled “COM” to the red probe. That switch terminal often uses a black screw. The multimeter should now display a reading of 120 volts or slightly above. You’ve now confirmed that house electrical power (120 volts AC current) is reaching the switch, coming from the wire on the switch’s “COW terminal.
4. Sort through old light bulbs
This trick will only work reliably on simple incandescent bulbs. If you have a box of old bulbs in unknown conditions, use your multimeter to test which ones are good and which ones are blown. Confirm your meter is set in continuity test mode (see step 2) and is switched on. Touch the black probe to the outside of the bulb’s metal threaded end. It helps to put the probe tip inside a screw thread groove for extra stability. Now touch the tip of the red probe to the bulb’s electrical foot contact (that’s a fancy way to say the metal circle at the bottom of the bulb).
When the red probe makes contact, the multimeter will sound a tone if the light bulb’s circuitry checks out. If there’s no sound then you’ve got a dead bulb.

Loves home. I am here to provide how to make your home a much better place. 🙂 Blogging about HomeDecor, Home Improvements and more.