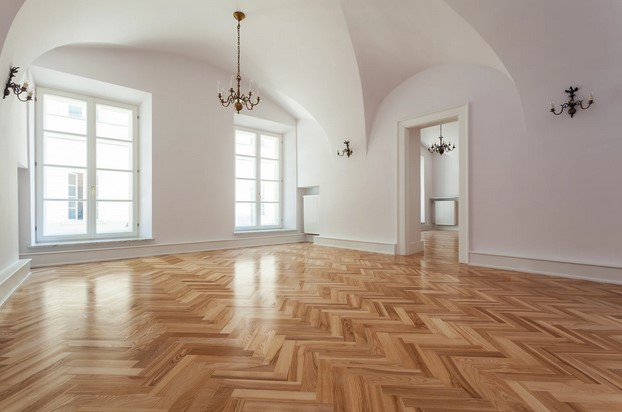
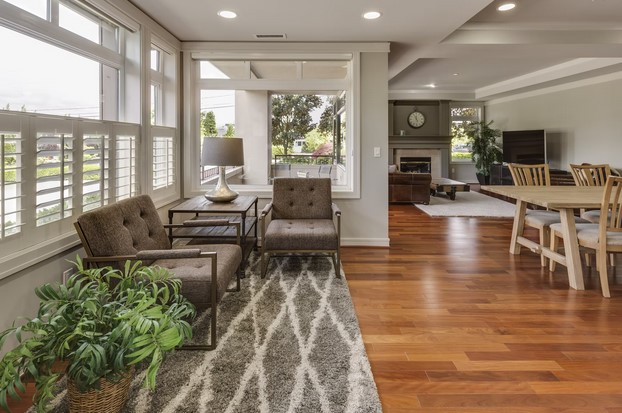
If hardwood floors are a staple in your home, it’s probably because you value longevity just as much as natural beauty. While hardwood flooring is a timeless favorite for those reasons, its beauty and lifespan will suffer if not maintained properly. The best way to ensure you’re getting the most out of your hardwood floors is to make sure you’re cleaning them regularly and maintaining them up to standard. These essential tips will help you get started sprucing up your flooring game!
A Step-By-Step Guide to Cleaning Hardwood Floors
Dirt, dust, stains and accidents can be major causes of hardwood flooring damage and deterioration. Consequently, the number one way to maintain them is to keep them clean on a regular basis.
1) Sweeping
First, use a broom or a dry microfiber dust mop daily to remove all dust, dirt, and pet hair. If using a dust mop, you have the option of applying a dust cleaning agent, but some mops don’t require it. Sweeping will help prevent scratches from loose debris.
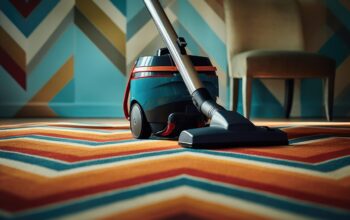
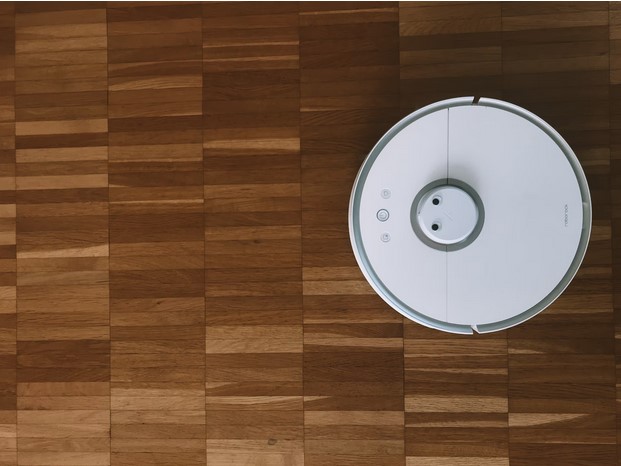
2) Vacuuming
Pass over your hardwood flooring with the vacuum at least once a week. Make sure to use the hard floor setting on your vacuum and apply the floor brush piece, or preferably, use a machine that does not have a beater bar that will scratch the finish.
3) Mopping
Clean your hardwood floors with a wet mop twice a month. Make sure to get as much water out of the mop head as possible before use since high volumes of sitting water will warp and stain the wood. Alternatively, use a disposable wet pad mop made specifically for hardwood floors. Follow the manufacturer’s instructions when it comes to choosing a cleaner. If in doubt, use any cleaner explicitly designed for use on wood. Do not use any tile cleaner, vinyl cleaner, or homemade vinegar solution, all of which can damage the finish. Remember to wipe up any standing water left over after you finish mopping, and if possible, turn on a fan to evaporate any remaining moisture.
4) Refinishing
No matter how much you clean and maintain your hardwood floors, they will naturally grow dull again over time. Applying a new finish can revitalize their shine and make them look brand new again. Refinish your hardwood floors every three to five years.
5) Sanding
Hardwood floors will inevitably collect scratches and dents over time. After ten years, they will need to be sanded down until the marks no longer show, then re-stained and refinished to look good as new.
Removing Scratches & Stains
Sanding is certainly the most effective way to remove scratches and stains in your hardwood flooring. However, the process can be daunting for the average homeowner, and so it generally requires professional help. While your floors will still need a good sanding every decade, you can at least treat individual scratches and stains in the short term in a few ways.
Treating Stains
1) Determine whether your hardwood floors have a hard finish or a soft oiled finish. If you don’t have the information documented anywhere, you can generally assume it’s a hard finish if the stain is only surface-level. If it seems to have seeped into the wood itself, you probably have a soft oiled finish.
2) Soft Oiled Finish – If your floors have a soft oiled finish, you can scrub the stain with a wood floor cleaner and a microfiber cloth to start. If that doesn’t work, try using a touch of dish soap. If you still have no luck, scrub the spot with no. 000 steel wool. You can also soak the spot with vinegar or bleach for an hour, then wipe it up with a damp cloth. If the stain goes particularly deep into the wood, sand the area down and scrub with steel wool and mineral spirits.
3) Hard Finish – If your floors have a hard finish, stick with the soft microfiber cloth and wood floor cleaner. Steel wool, vinegar, sandpaper and other chemicals are not recommended for floors with hard finish because they may cause irreparable damage.
Treating Scratches
1) Liquid scratch concealer – At your local home improvement store, find a liquid scratch concealer product that best matches the color of your hardwood floor finish. Apply the liquid polish to the scratch and allow it to dry. Liquid scratch concealers hide scratch marks, seal the wood, and protect it against drying, cracking, and dirt.
2) Floor wax – Apply the floor wax paste to the scratch and allow it to dry, creating a thin, hard protective layer.
3) Sanding – Gently scrub the scratch mark with sandpaper until it fades away. Dust the area to remove stray wood particles, and apply a new coat of finish to the spot.
Protective Measures
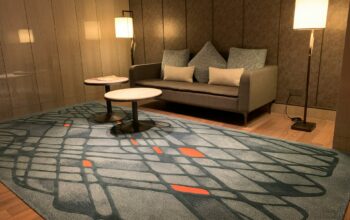
Prevent your hardwood floors from getting scratched or stained in the first place, and you won’t have to spend as much time cleaning and maintaining them. For instance, floor mats in front of all doors leading outside will protect the wood from snow and rainwater, deicing chemicals and salts, and mud. Place a shoe rack near the front door, and remember to take your shoes off before walking around your home. To prevent scratches, situate some felt pads or an attractive rug under your furniture. Rugs are also a classy way to protect the high-traffic areas of your house.
In Conclusion
People often underestimate the value of a clean home, but our environment has a tremendous effect on our well-being. When your home is sparkling clean, you feel like you’re at your best, too. Your floors are no exception to this rule. With proper cleaning and maintenance, your hardwood flooring can keep you and your family glowing with pride for more than a generation!