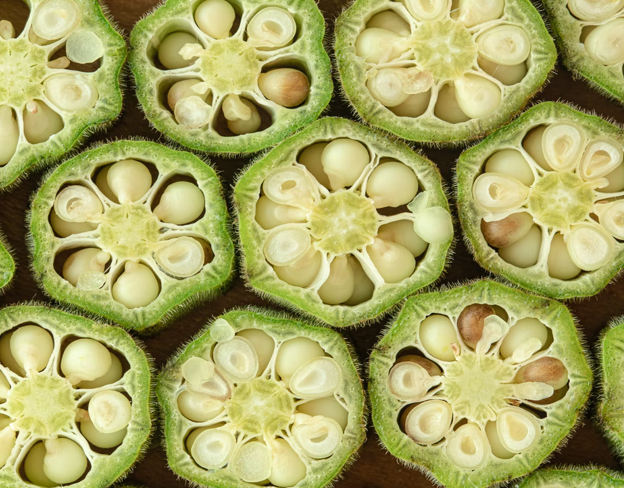
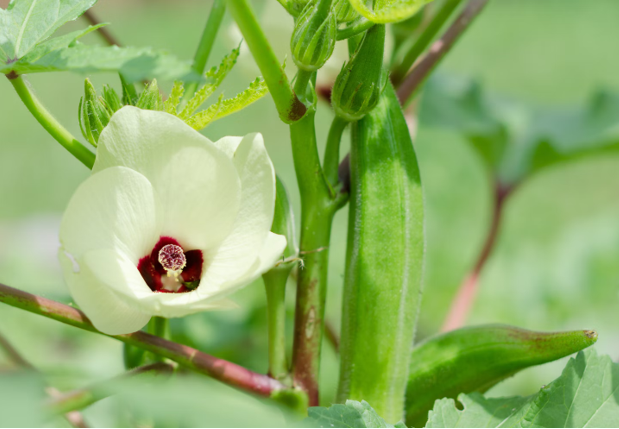
As any Southerner will tell you, okra is the most delicious vegetable of them all! Originally from Africa, this green seed pod vegetable of the hibiscus family has a mild grassy or nutty flavor similar to eggplant and a crunchy or gooey texture, depending on how it’s cooked. As a staple in Southern recipes like gumbo and lowcountry boils, homegrown okra is a must-have for your culinary exploits. Growing okra at home is easy when you follow these steps!

How to Plant Okra
First, prepare your planting site. It should be either a section of your garden or a 5-gallon pot,10 to 12 inches in depth, that can sit outside. Your planting location should receive full sun and contain loamy soil mixed with organic compost, sand and silt.
When you’re ready to start planting, germinate your okra seeds in water for at least 12 hours. You can start growing the seedlings indoors in peat pots about 5 weeks before the final frost date in your climate zone. Plant 2 seeds per peat pot and thin the weaker seedlings. Three to four weeks after the last frost date in early spring, or when the soil temperature has reached at least 60°F, plant the peat pots into your chosen outdoor planting site.
If sowing directly into the ground, place the seeds one inch into the soil and 3 inches apart. Rows should be three feet apart. Seedlings typically start to appear anywhere within 2 to 12 days. At this point, thin the seedlings until the plants are 18 to 24 inches apart.
Growing Okra
Okra will thrive with regular watering, 2 to 3 times per week. Give your okra plants a thorough soak if your region receives a dry spell in the summer. If in doubt, check the moisture of the soil with one finger, and be careful not to overwater them to the point of root rot. Remember to weed regularly as well. After 2 to 3 weeks, or when the okra is about 5 inches tall, add organic or nitrogen fertilizer and more mulch. After this, add extra compost every 3 to 4 weeks.

Harvesting Tips
Okra matures fully within 50 to 60 days and will continue producing for up to 12 weeks or until the frost kills it off. The pods are ready for harvest when they reach 2 to 3 inches in length and feel tough and woody on the outside but still tender to the touch.
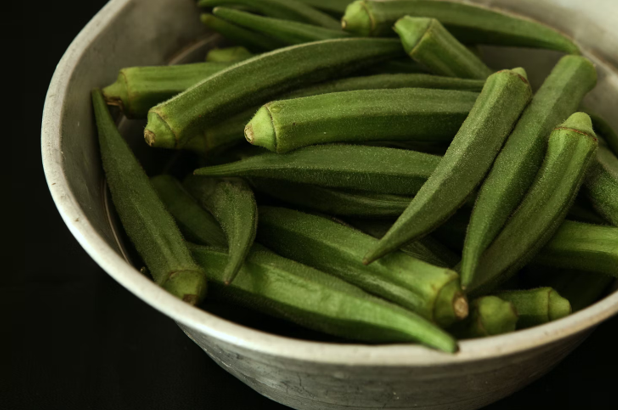
To harvest, wear gardening gloves to protect your hands from the plant’s spines, and use a sharp knife to cut the pod off at the stem. Make sure to cut off any over-developed pods, conserving the plant’s energy for younger pods, and recycle them as compost. Set up a reminder to harvest your okra every other day.
Do not wash the okra pods until you are ready to use them. Water exposure may invite them to mold early. Instead, wrap the pods in plastic and store them in your refrigerator for up to five days or until the pods brown.
In Conclusion
Okra is possibly one of the easiest plants to grow at home. It doesn’t require much outside of the ordinary in terms of gardening technique. It’s versatile enough for container gardening, too, as long as it can still sit outside. Plus, a mere 4 or 5 plants will be plenty to feed you and your whole all summer long! Look forward to enjoying a proper Southern summer, complete with snackable fried okra bites paired with whiskey or seafood gumbo with sweet tea!

Worthview Editorial Team is the shared byline for content created collaboratively by Worthview’s editors and contributors. Since 2008, we’ve published thousands of articles across technology, AI, finance, health, home, travel, and lifestyle. Our editorial process emphasizes original research, reputable sources, regular content updates, and clear attribution. Articles covering higher-trust topics, including health and finance, may also undergo review by qualified subject-matter experts.