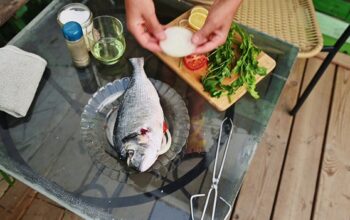
We all love that wonder full taste of home grilled cooked food. It just tastes so much better when you cook it outside on a grill than when you cook it in the oven. Although you can choose to purchase a budget grill, some people really enjoy home crafts and just want to make your own grill. There are people who like to build a full-size, built-in outdoor grill at their garden, spending a lot of money but most of us want to make a cheap, affordable and functional grill.
In this article I’m going to tell you how you can accomplish this in just a short amount of time and without having to break your wallet.
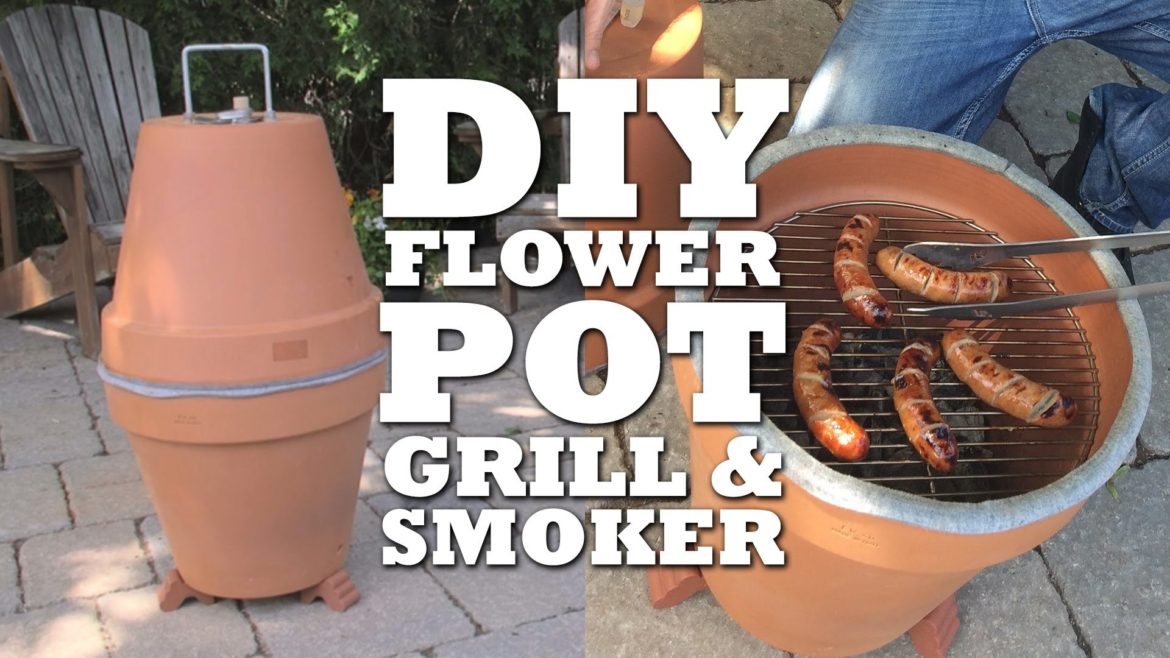
This is a really simple project, what you going to need is just a few inexpensive items.
Required Tools
- 2 Clay Flower Pots about 18″ inches in circumference
- 1 Round Grill
- 1 Base for the Charcoal
- 1 Barbecue Gasket
- 1 U Bolt
- A Drill with Drill Bits
- 2 Wine Corks
- 1 Brick
- 1 Grate
- Charcoal
- Smoking Chips of your desired flavor
- Ten Foil
- Oven Thermometer
Building Process
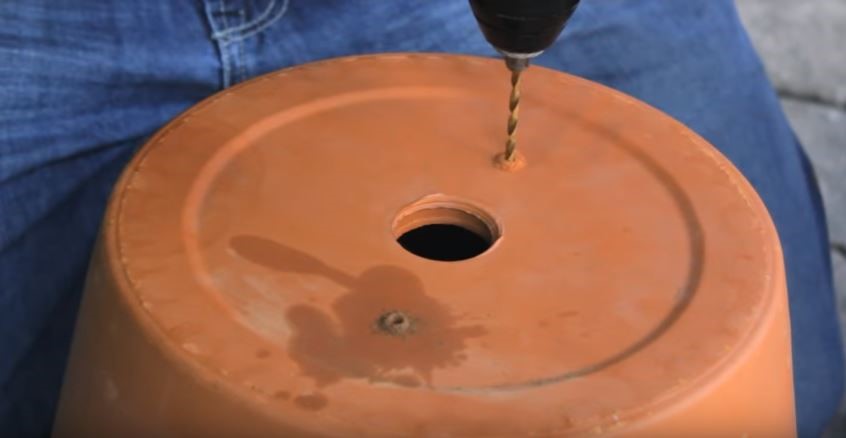
1) What you are going to do first is pull out that trusty drill and drill two small holes at the bottom of one of the clay pots, Make sure the two holes are wide enough apart so that the U Bolt can fit into them properly.
Note: Make sure that you do not start off with a large drill bit because you run the risk of cracking the pot, and that is not what we are trying to do here.
2) Then you are going to grab that roll of barbecue gasket and place it around the rim of the top of both pots. This will protect your home made grill from cracking when you put the “lid” on and also serve as an insulator to stop any excess smoke from getting out.
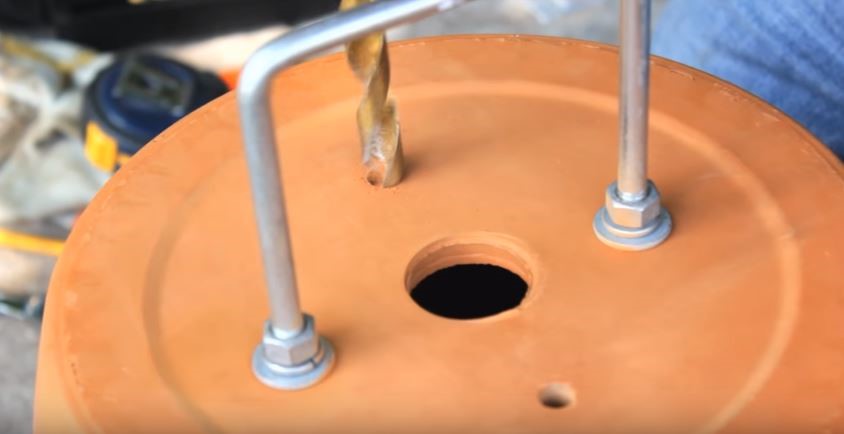
3) Next after you drill the holes take the U bolt and slide it inside the two holes and fasten in with nuts on the inside of the pot. The U bolt is to serve as a handle to pick up the pot because it will reach extremely high temperatures and you do not want to burn your hand trying to take the pot off.
4) After that, what you will need to do next, is to drill 4 ventilation grill holes in to the pots two on the bottom sides and two on the top next to the handle. Drill the holes large enough so that you can shave down the cork screws and fit them into the holes comfortably and be able to put them in and out to use for circulation when you need to.
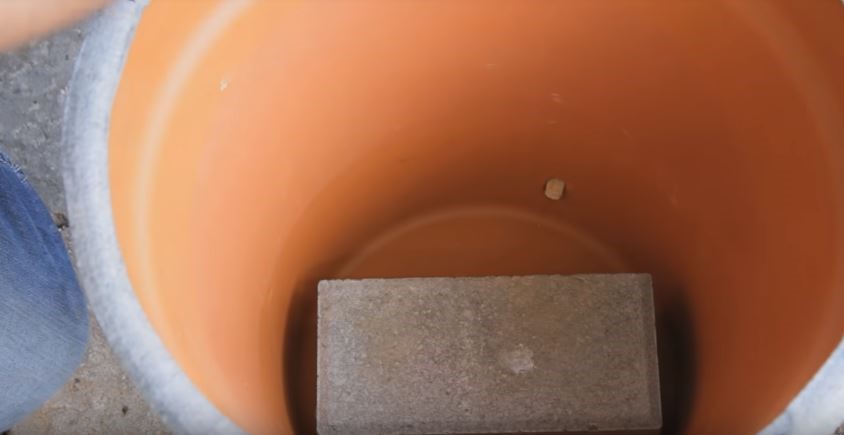
5) Next you will get that brick and place it in the bottom of the pot that does not have the handle on it this will allow the grate to be higher, after you have placed the grate in there you can add your charcoal.
6) Now you will grab those smoking chips, a good choice to buy is hickory chips, this will give your grilled food that amazing hickory smoked flavor. It is a good idea to soak them in water before you add them. After they have been soaking in water, add them to the already lit charcoal.
7) After you have allowed them to warm up and know that the fire will not go out, grab your round grill and just rest it right on top. The great thing about using a clay pot is that the lower base gets smaller, so you will use the top of the grill for cooking and the lower part will be for charcoal.
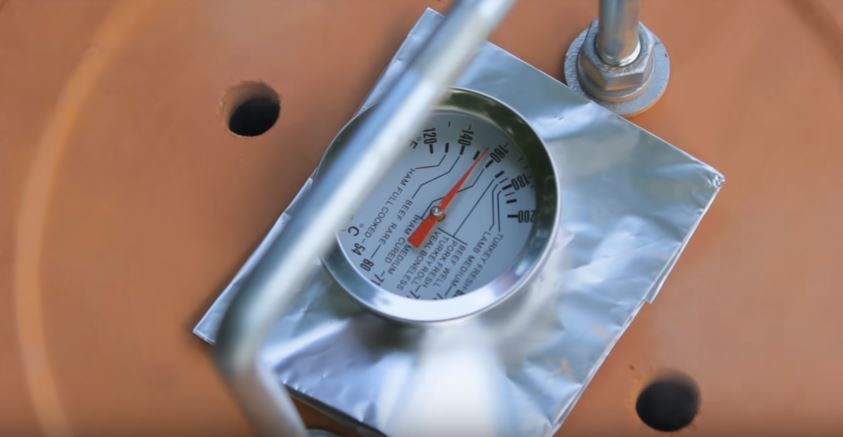
8) Now you can grab that tin foil, fold it up and grab the lid and place it on top of the other pot. Now take the tin foil and cover the drain hole that is on the pot. Grab the cooking thermometer and poke a hole into the foil and leave it in, this will allow you to see how hot it is inside the grill you have just made.
 ar
ar
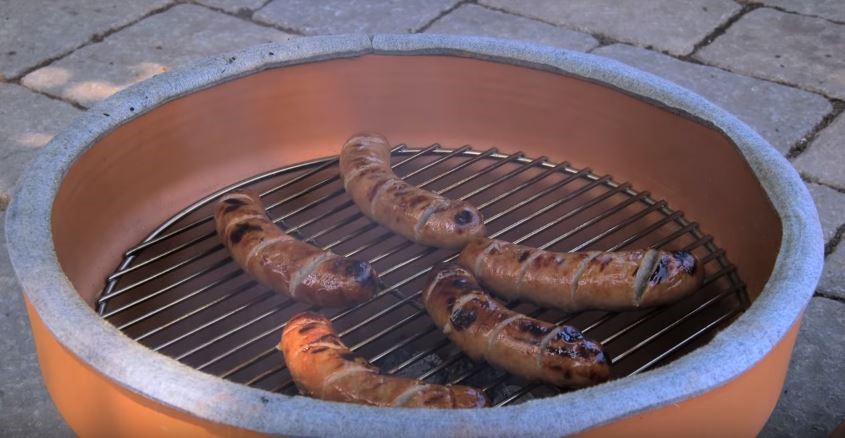
Finally you are done. Get ready to cook some food and place it on the grill to get use of this wonderful homemade DIY grill. I hope you enjoy!

Loves home. I am here to provide how to make your home a much better place. 🙂 Blogging about HomeDecor, Home Improvements and more.