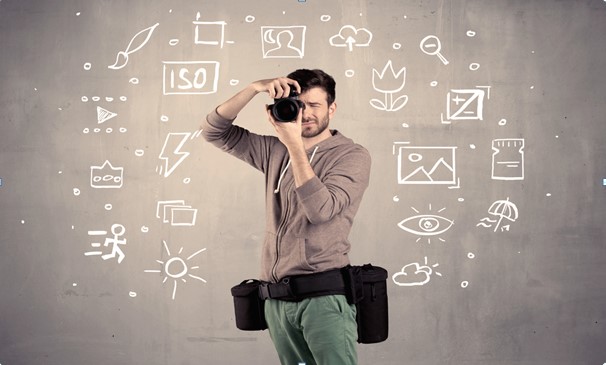
Being a photographer has become a very admirable job today. Thanks to technology, there are a ton of possibilities to explore for every image. Even just from the gadgets there are today like cameras and Smartphones, it is possible to realize very amazing photos.
However, to set the pace as an expert photographer, you need some skills in photo editing. A picture may be good at the initial capture, but adjustments of lighting, contrast, and saturation, frame size, among other factors, can work wonders for the photograph. Here are six photo editing tips you will need to take your pictures to the next level of awesome:
- Start With a Good Base Photo
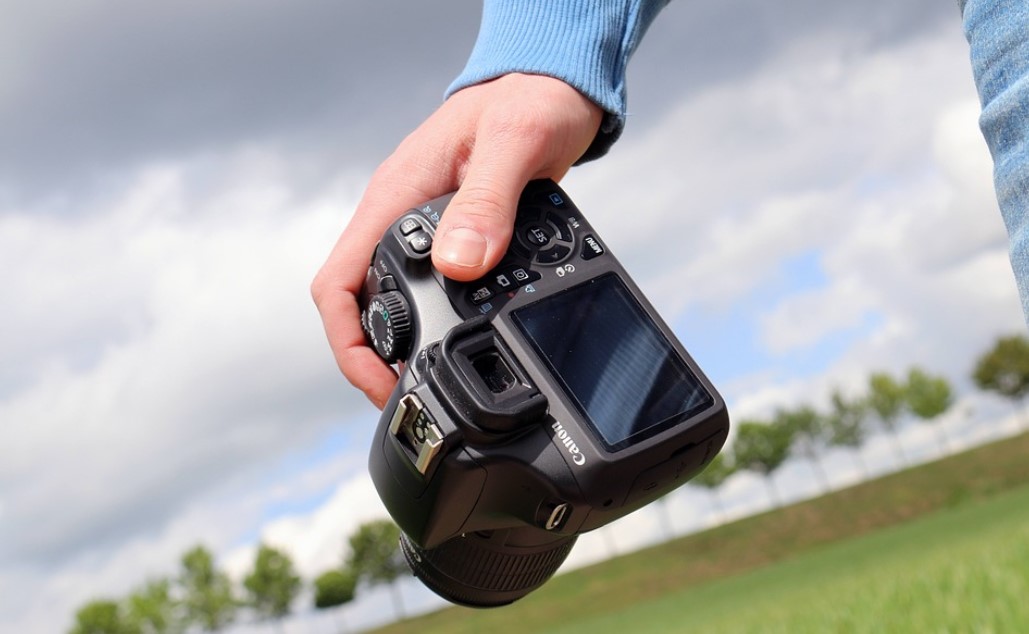
You cannot be a pro in photo editing until you start by mastering how to capture a good base photo. Given this is the prototype you will be working with, you must start thinking about how you want to photograph an item, so you have a good base photo to use. If you take bad pictures, you will have a hard time saving them, even with the best photo editing tools in the world. At the least of things, ensure that your base picture is not blurry, or taken in extreme darkness. You also want to make sure that a lot of flash does not ruin the grains of the image, which makes it even harder to edit correctly.
Tips for taking a good base photo
- Prefer natural, indirect sunlight. If you are working indoors, ensure you are near a window or any other open source of sun rays.
- Avoid using the flash as much as possible
- Clean up the area you’re shooting in. The background of any object lays a big part in the outcome of a photograph. You can us the best background remover to ensure your background organized and clear of any shadows.
- Work from the focal point of the picture
There is the main item on a picture you intend to concentrate on for every photo you take. This should be your focal point. Therefore, if your base picture has a lot of distracting things around, your editing should work toward accentuating the focal point. Cropping is one great way to do it, as you zoom in on your object.
As you crop, watch out not to mess the pixels of the image. Also, don’t make the image too small. Consider working with a square size, the original measurements, or at least keep it 600px wide.
- Pick the best photo editing tools
There is a myriad of tools in the market that can get the job done. However, if you are seeking for professionalism and to realize well-edited images, be keen with the tools you select. As a matter of fact, you can simply use your phone’s own editing app exclusively.
Otherwise, opt for easy-to-use tools that can handle the most important aspects of bettering a photo. Given you are working with a good base picture, you should be fine with a few tweaks like adjusting brightness, contrast, saturation, and others. You can opt for tools like Canva, Adobe Photoshop, and Lightroom, Pixlr, Picasa, among others.
- Upping the brightness
This is probably the most common editing function for pictures. Even with a great source of light on an object, you still may have to deal with shadows that limit proper lighting on the focal point. When upping the brightness, be careful not to wash it out too much or make it paly to look at.
- Adding color or hue
A washed out picture is not as attractive. The problem with photo editing is that one adjustment can change be an undoing to another thing, so you have to keep editing different aspects. After adjusting the brightness, it is highly likely that the object will become pale. Before you finalize the photograph, make sure you remain faithful to the original colors of the objects for the sake of authenticity. Also be sure that your photos do not have a strange color cast, especially with yellows and greens. You need to balance out the hues, so you have the perfect end results.
- Do not over-do it
This is the one tip all people using photo editing tools should know. Overdoing things makes them worse than they ever were. As a fact, people can tell when a photo has been overly edited, and they will end up saying it is not real. Whether or not you want to ape a certain reality, make it as close to the reality as possible. This is especially true for Photoshop and for changing up backgrounds.
Pro tip: any additional thing you introduce to the photograph should blend well with the object, without distracting people further away from the focal point. This counts for texts, images, emojis, among others. When it is difficult to achieve, try working with slightly transparent overlays to get the job done.