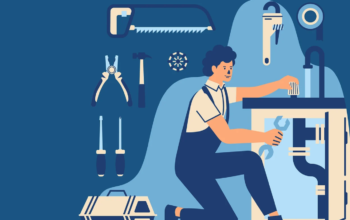
If you’re like most people, you probably don’t know much about hydraulic hose repair. In fact, unless you work in a factory or some other industrial setting, you may never have even seen a hydraulic hose. But if your car ever needs a new one, or if you ever wonder what that big black snake-like tube is for under your hood, then this article is for you.
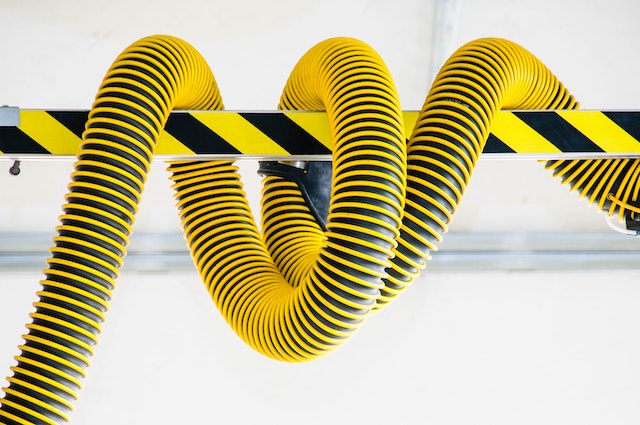
Hydraulic hoses are essential for many types of machinery. They are used to transmit fluid power and come in various sizes, shapes, and materials. The most common type of hydraulic hose is the steel-reinforced rubber hose. This kind of hose is strong and durable, but it can be difficult to repair if it’s damaged.
Five Do’s of Hydraulic Hose Repair:
1. Inspect the Hose
The first step in hydraulic hose repair is to inspect it for damage. There are several things to look for, including:
– visible cuts or tears in the hose
– cracks or bubbles in the rubber
– leaks at the connections
If you find any damage, do not attempt to repair the hose yourself. It’s best to take it to a professional hydraulic technician.
2. Disconnect the Hose
Once you’ve inspected the hose, disconnect it from the machine or engine it’s attached to. Be sure to release any pressure that may be built up inside the hose before doing so.
3. Cut off the Damaged Section of Hose
Use a sharp knife or scissors to cut off the damaged section of hose. Be careful not to cut into the good section of hose. Leave at least 1 inch of healthy hose on each end of the damaged section.
4. Clean and Prep the End Connections
The end connections on a hose are where most leaks occur. So it’s important to clean andprep them before fitting new hose sections into place. Use a wire brush or sandpaper to remove any dirt, grease, or corrosion from the connector threads. Also be sure to remove any burrs or sharp edges from the connector hole.
5. Fit New Hose Sections Into Place and Connect Them Securely
Once the end connections are clean and prepped, fit new hose sections into place and connect them securely using clamps or fittings. Be sure to use Teflon tape on all fittings to prevent leaks.
Five Don’ts of Hydraulic Hose Repair:
1. Don’t Use Substitute Materials
When repairing a hose, it’s important to use the same material as the original hose. Using a different material can weaken the hose or cause it to fail completely. Also, using a different material can void the warranty on the hose.
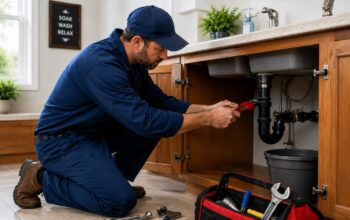
2. Don’t Attempt to Repair a Hose Yourself
Hydraulic hoses are complex pieces of machinery and should only be repaired by trained professionals. Attempting to repair a hose yourself can be dangerous and worsen the problem.
3. Don’t Skip the Teflon Tape
Teflon tape is essential for creating a seal on hose connections. So don’t skip it!
4. Don’t Use Hose Clamps Alone
Hose clamps alone are not enough to prevent hose leaks. Always use Teflon tape or another sealant in addition to hose clamps.
5. Don’t Attempt to Repair a Damaged Hose Yourself
Unless you’re a trained technician, it’s best to leave hose repairs to the professionals. Attempting to repair a damaged hose yourself can result in further damage or even injury.
Repairing a hydraulic hose can be tricky, but if you follow these dos and don’ts, you should be able to fix most types of damage. If you’re uncomfortable doing the repairs yourself, you can always take the hose to a mechanic or industrial supply store for help.

Worthview Editorial Team is the shared byline for content created collaboratively by Worthview’s editors and contributors. Since 2008, we’ve published thousands of articles across technology, AI, finance, health, home, travel, and lifestyle. Our editorial process emphasizes original research, reputable sources, regular content updates, and clear attribution. Articles covering higher-trust topics, including health and finance, may also undergo review by qualified subject-matter experts.