For tradesmen and DIYers, circular saws had been one of the best companions in the workshop. But dealing with the blades of these saws had always been a hard nut crack. Often, we had to take it to the local workshop every time we have to change the blade.
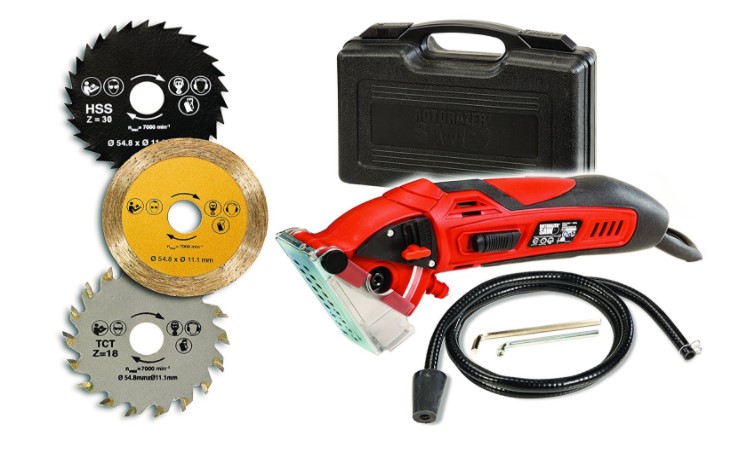
But this article that you’re reading is going to change that for now and forever. You’ll find a step by step guide to changing the blades of circular saws all by yourself. With a suggestion of maintaining all the safety precautions, this article will be the easiest guide ever! Read Rotorazor circular saw review if you need a mini circular saw for your project.
Let’s start the discussion how to change a circular saw blade
Circular Saw Blade Types
Before getting detailed about the process of changing a circular saw blade, we would like to talk about the types of them. Here is a short listing of the most commonly used circular saw blades-
The Fine Tool Finish Blades
These are one of the most commonly used blade types. Usually, they are likely to make excellent and smooth cuts. Jobs that need precision are done with these types of blades.
The Paneling Blades
If you have to deal with some specific types of materials like veneer, plywood, laminates or paneling, this is the blade that you should put on your circular saw.
Nail Cutting Blades
As the name suggests, the nails or woods are the target material for these types of blades. Also, if you have other foreign objects, this blade would be the kit for you.
Metal Cutting Blades
Now, this is for the hardest of them all. If you’re willing to cut metals, metal cutting circular saw blades are the weapon to that.
How to Change a Circular Saw Blade- Step by Step
Be prepared and follow these steps of how to change a circular saw blade-
Step 1: Take the Saw to the Safe Side
Of course, you won’t do the process with the saw powered in. So, unplug the saw from the electric plug. If it’s cordless, remove the battery from it.
Step 2: Press the Arbor Lock
This step is to remove the older blade. Find the arbor lock of he saw and press it. Afterward, keep rotations the older blade until you make the locking mechanism engaged.
Step 3: Remove the Blade Guard and the Older Blade
This is the last step till you get the old nut off the saw. You can use a blade wrench to remove the arbor nut. Turn the wrench in the same direction over and over, and it will loosen up. Finally, retract the upper blade of the saw.
Step 4: Slip the New One
Now it’s time to wear the new blade to the saw. Make sure that the saw teeth are overlapping with the blade correctly. Otherwise, it will cause a massive mismatch of the entire process.
Step 5: Don’t Over Tighten
Now, start tightening the arbor nut. And don’t try to over stretch it to get better performance. It will do opposite if you do so.
Frequently Asked Questions (FAQ)
Question: How to understand when to change the blade?
Answer: You can understand it when it will start putting burn marks in the wood chips.
Question: Is there any recycling program with the older blades?
Answer: Some tool outlets offer such services. It’s better to talk to your closest one.
Question: Does this replacement method differ from models to models?
Answer: The position of some controls may be different, but the root processes of changing blades of circular saws are almost same to all models.
Question: How to deal with battery powered saws?
Answer: The battery-powered saw and the electric ones aren’t that much different. So, you can use the same steps to remove saw blades from both.
Conclusion
Thanks for being to the bottom of the article. Throughout the entire content, we’ve tried to provide the simplest solution on how to use a circular saw blade. Be a little careful with the process, if you’re doing it for the first time. After a couple of tryouts, the process will look as natural as cutting a log with the saw. Good luck with your experience!