Imagine this: you are driving your way home with your family. You pass by the houses in your suburban community. You see block after block of houses, trying to find your own house. Of course, you know your own home. After all, you are used to what it looks like. But you find yourself wondering: wow, all these houses are the same!
Or imagine this: you are waiting for a delivery service. Is it pizza? Is it a package that you have been waiting? The delivery man knows your address, but to help him out, you try to describe your house. Oh, but great! Every house in your area practically looks the same and your description only took the delivery man longer to find it.
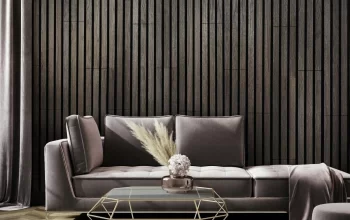
A little touch of identity is not that all bad for a home. Of course, we all want our homes to speak about who we are as a family. You can put up a very distinct mailbox or make your lawn unique by putting up a garden that has the most different flowers. Still, from a far, the colors of the houses are all the same. What you need then is a fresh repaint, just so your life and your house can have some splash of color.
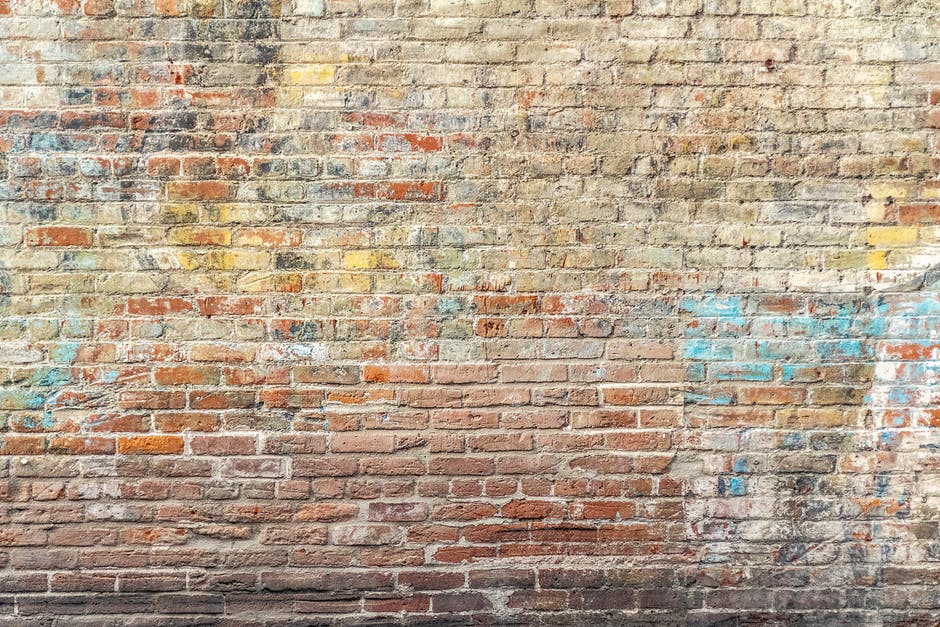
Especially if your house is sporting that familiar orange or brownish brick walls, it would be nice to change it up a little bit. May it be for remodeling purposes to sell the house or just for a fresh look, you can actually paint it up on your own. It can even be a family activity, for as long as you can find a way to make your kids join the fun.
It is very simple. While there are masonry contractors Chicago prides itself with, here are some tips for you to start things off.
FIRST, prepare the brick. It is important to first prepare the brick by cleaning it off to remove dust or old paint that is already flaking.
SECOND, cover up! Make sure that you cover up parts of the wall that you do not want to repaint. Simply avoiding these parts when you start painting is fine, but just to make sure, take the time to cover them up using your preferred masking material. Even the floor needs some protecting, so lay down some drop sheets as well.
THIRD, prepare your paint. This includes the paint with the color of your choosing, as well as a flat stirrer. Extra tip: an old ruler can be used if you do not have a flat paint stirrer.
FOURTH, cut it in. Start your painting job by cutting in with a brush. Use the brush to pain around any edges or features, starting from the top to the bottom. Tip: do not cut in too early so that the edge is still wet when you start rolling!
FIFTH, start rolling! Load the roller by ensuring that the roller has an even cover of paint. Spin it evenly and start rolling from bottom to the top. Do not start in the middle, okay?
Simple, right? Just follow these simple steps and do the paint job. Live a life in color!

Loves home. I am here to provide how to make your home a much better place. 🙂 Blogging about HomeDecor, Home Improvements and more.